REAPER 101 is a series of short articles to help beginners get started with REAPER quickly.
This tutorial will explain the various buttons and options of the Mixer Control Panel.
The mixer is the part of REAPER where you mix your song. While offering the same basic controls as the TCP [click here for REAPER 101: Track Control Panel], the mixer has everything laid out in an a large uncluttered way. The REAPER resembles the layout of a traditional hardware mixing console, but infinitely expandable, and customizable.
-
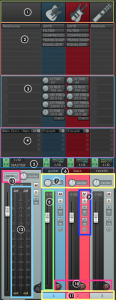
MCP sections identified in default theme Track icon (optional) – you can insert an image to identify tracks, this is normally hidden
- Inserts – All effects on the track are listed top to bottom. You can drag to change the order and copy to other tracks
- FX Parameters (optional) – often used FX controls can be added for easy access
- Sends – All sends to other tracks and hardware outputs are in this section
- FX chain bypass – add and edit effects for the track; bypass all fx
I/O routing – opens this pop out window to configure routing in and out of the track
- Track Name – give your track a name to keep your project and files organized
- Panning – output the audio on this track on channel 1 (left output/speaker), channel 2 (right), both (center) or anywhere in between
- Volume Fader – makes the audio on this track louder or quieter
- Mute – silence the track
Solo – hear only this track
Record input monitoring – listen to the input signal or not
Envelopes/Automation – menu for automation modes and related options
Polarity/Phase invert – flips the signal voltage polarity 180° - Record Enable – click this if you want to record on this track
- Track Number – tracks are numbered as the appear in the project from left to right. The number changes if you move a track
- Metering – shows MIDI and audio activity for input and playback. Master shows peak and RMS on expanded meter
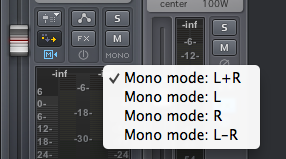
- Master mono sum – enables mono master output with 4 options: Sum L + R (default), Left only, Right only, or Difference L – R


Tracks can also have an expanded view, one of many layout options available in each theme. [see image on right]
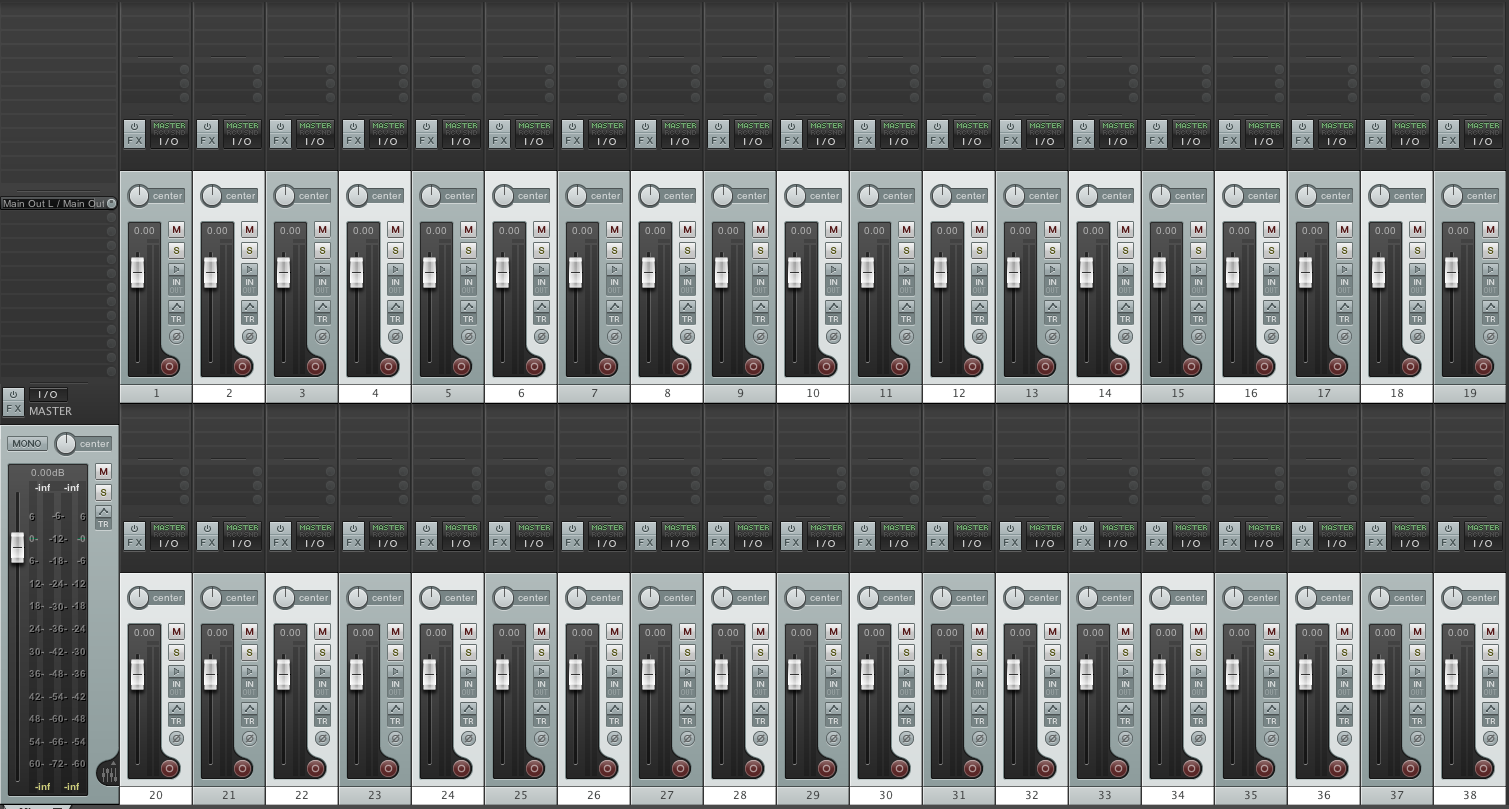
The mixer can be docked below the arrange view, or floating to be viewed on a second monitor.
With large projects (or small screens) the option to show multiple rows of tracks in the mixer can be very helpful. [image below]
Leave a Reply