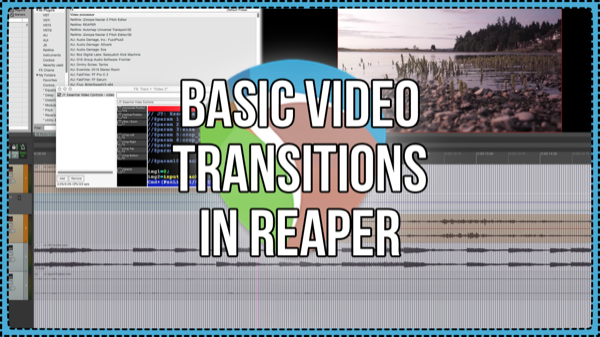
In this video Jon explains how to do four simple video transitions: Dissolve, Fade to black, Slide, and Dip to white (or any color).
These transitions all require some very basic automation of the video processor plugin. This can be done as item or track automation.
Related – Video Processor Presets
Fade to and from black
Easiest technique which transitions to a gap in the timeline. This can be done in two ways.
We reduce the video opacity to zero at the end of the video item, leave a few frames of no video before the next clip.
Then either
1 – use video processor to automate opacity in the ‘JT Essential Video Controls’ or ‘Track opacity/zoom/pan’ preset
- add the opacity parameter track envelope.
- click to add a point at the start of the transition (about 1 second before end)
- click and drag to add the final point at the end.
- alt-drag the envelope segment (the line between points) to quickly adjust the curve tension, or right-click the first point to choose a preset shape such as slow start/end.
2 – use video processor preset ‘item fades affect video’ and use normal item fades or the item volume envelope. I wouldn’t recommend this unless you’ve separated audio from the video.
While the second option is fewer steps I rarely use it, I prefer to have auto-crossfades on the video file caused by grouped audio tracks not affect what happens in the video. You only want to dip to black occasionally, not on every edit.
Dissolve
A Dissolve is when a video fades from one shot to another and during the transition we can see both images.
This one is almost exactly like fade to black, but this time we’re overlapping two clips on either one or two tracks. Again we’re using the same options for changing opacity.
1 – Clip A on track 1
2 – Clip B on track 2 and arrange in a way so they are overlapped
3 – Automate opacity in the video processor for Track 1.
Or use the preset ‘item fades affect video’ and just overlap the items on the same track. Watch out for audio edits causing opacity changes if you go with this option.
Slide
Sliding up, down, left or right is a simple transition to make but it’s one that’s rarely used in film because it’s not dramatic and can look like a slideshow or powerpoint transition. It can be very cheesy, but
But slide transitions can be used to great effect when the camera is moving through a doorway or behind an object.
You can choose to automate the position, or cropping to achieve the desired look.
- add the X position parameter track envelope.
- click to add a point at the start of the transition (about 1 second before end)
- click and drag to add the final point at the end.
Dip to white (or any color)
This is very similar to the fade to black but requires a little extra effort. With fade to black we can just change the opacity to zero over time, fading/dipping to a color means we need to bring in an extra asset such as a .png or video file of a solid color.
1 – Clip A on track 1
2 – solid color image on track 2 and arrange in a way so they are overlapped
3 – Automate opacity in the video processor for Track 1.


Comments
One response to “How to: Basic Video Transitions In REAPER”
Thank you for this awesome tip. I’ve been wondering if I could use Reaper as a simple video editor, and the answer is clearly yes!
Great tips 🙂